English
 Français
 Español
 Português
 中国人
中国人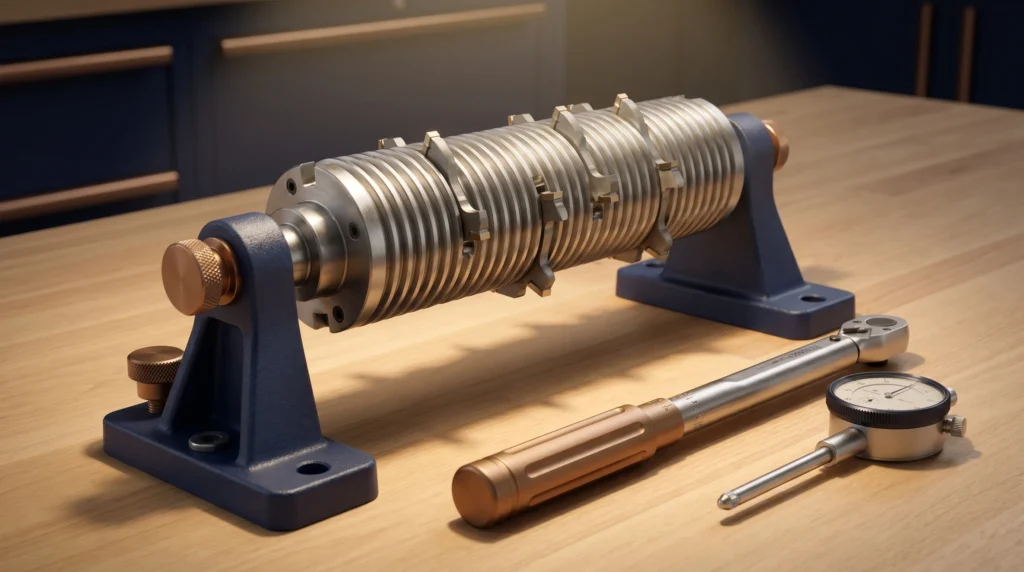
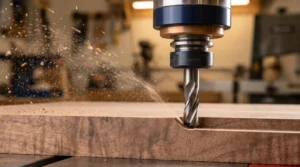
Setting knives in a corrugated back cutterhead is one of those shop tasks that looks straightforward but rewards careful attention every single time. Whether you’re running a small custom shop or a high-volume production line, knowing how to set corrugated back knives properly keeps your machine running smoothly, your cuts clean, and — most importantly — your operators safe. This guide walks you through the process step by step.
Safety First
Before you touch a cutterhead, disconnect power to the machine and verify it cannot be started — lock out and tag out following your facility’s lockout/tagout (LOTO) procedures. Wear cut-resistant gloves when handling knives. Never reach into a cutterhead with exposed, unseated knives. Always follow your machine manufacturer’s safety guidelines and any tooling manufacturer instructions that accompany your cutterhead and knives.
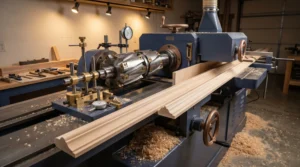
Understanding the Corrugated Back System
Corrugated back knives use a matched series of ridges and grooves on the back of the knife and the face of the gib (clamping wedge). When the corrugations seat together, they mechanically lock the knife at a fixed projection — you can’t simply slide the knife in any position, which is actually a safety feature. Because the spacing of the corrugations determines projection, it’s critical that the knife and the cutterhead are ground as a matched set and that every knife in the head is set to the same corrugation engagement.
CGG Schmidt grinds corrugated back knife sets to match, so if you’re sourcing new knives or having existing knives re-ground, make sure you’re getting a matched set intended for your specific cutterhead.
What You’ll Need
- Matched corrugated back knife set (ground for your cutterhead)
- Appropriate torque wrench and gib bolts (correct size for your head)
- Setting gauge or dial indicator
- Balancing scale or dedicated cutterhead balance stand (for heads that allow it)
- Clean rags and a light machine oil or rust preventative
- Lockout/tagout equipment
Step-by-Step: Setting Corrugated Back Knives
- Lock out the machine. Disconnect and lock out power completely. Confirm the spindle cannot rotate before proceeding. This is non-negotiable.
- Remove the old knives and clean the cutterhead. Loosen the gib bolts in a crossing pattern to release each gib evenly. Slide out the old knife and gib. Use a clean rag to wipe sawdust, pitch, and debris from the knife slot, gib face, and corrugated seating surface. Grit trapped under the corrugations will prevent proper seating and throw off projection. Apply a very light film of oil to prevent rust but wipe away any excess — oil on mating surfaces can reduce clamping friction.
- Inspect the cutterhead slots and gibs. Look for worn, damaged, or rounded corrugations on both the gib and the knife slot. Chipped or flattened corrugations will not seat securely. If you see wear, have the head inspected by a qualified shop before running it. Check that all gib bolts are clean and thread-in freely by hand.
- Seat the knife into the corrugations. Slide the new knife into the slot and press it firmly against the corrugated seating surface. You should feel the knife click or drop into the corrugations — there should be no rocking or play across the width of the knife. If the knife doesn’t seat cleanly, do not force it. Check that you have the correct knife for the head; a knife ground to a different corrugation pitch will never seat properly.
- Set knife projection. Corrugated back systems set projection by which corrugation the knife engages. Your cutterhead documentation will specify the standard projection (commonly in the range of 1–3 mm beyond the cutterhead body, though this varies by head and application — always refer to your manufacturer’s specification). Use a setting gauge or dial indicator referenced off a flat on the cutterhead body to verify projection is consistent across the full width of the knife. If projection is off, re-engage the knife at the next corrugation up or down as required.
- Install and snug the gib. Slide the gib into place over the knife and hand-tighten the gib bolts just enough to hold everything in position. At this stage you should still be able to verify the knife hasn’t shifted.
- Torque the gib bolts. Using the torque specification from your cutterhead manufacturer, torque the gib bolts in a crossing or alternating pattern — not one end to the other. This ensures the gib seats evenly across the full knife width and that clamping force is distributed uniformly. A common mistake is overtightening one bolt first, which cants the gib and leaves part of the knife under-clamped. Follow your manufacturer’s torque spec precisely; under-torqued gibs can allow knife movement, while overtorquing can distort the gib or strip threads.
- Repeat for all knives in the head. Set each knife using the same corrugation engagement, the same projection, and the same torque sequence. Consistency across all knives is essential for balance and cut quality.
- Check balance. After all knives are set, check the head for balance if your head and shop setup allow it. An unbalanced head causes vibration, reduces surface quality, and puts stress on spindle bearings. If you don’t have balancing equipment, have the set head balanced by a qualified tool shop before running at full speed.
- Perform a pre-run safety check. Before restoring power, go through this checklist:
- All gib bolts torqued to spec and verified
- Knife projection equal across all slots
- No loose hardware anywhere on or near the head
- Cutterhead guard reinstalled and secured
- Work area clear of bystanders
- Machine speed set to the correct RPM for the head diameter (never exceed the RPM rating stamped on the cutterhead)
- Restore power and run at low load first. After reconnecting power, run the machine unloaded and listen for unusual vibration or noise. A properly set head will run smoothly. If you hear rhythmic vibration or feel unusual spindle movement, stop immediately, lock out, and recheck your setup.
A Note on Knife Grinding
Corrugated back knives must be re-ground to maintain consistent profile and projection as they wear. Because the corrugation pitch sets your projection, a knife that has been ground thinner may need to engage one corrugation deeper to maintain the proper cutting circle. CGG Schmidt grinds matched corrugated back knife sets and can work from your existing profile, a wood sample, or a DXF file — so you’re always getting knives that are ready to seat and run together.
Ready to talk through your cutterhead setup or get a matched knife set ground? Give us a call at 1-800-SCHMIDT or send a note to sales@cggschmidt.com. We’re happy to help you find the right solution for your machine.